Handgun Ambidextrous Mag Release Modifications
Rob Pincus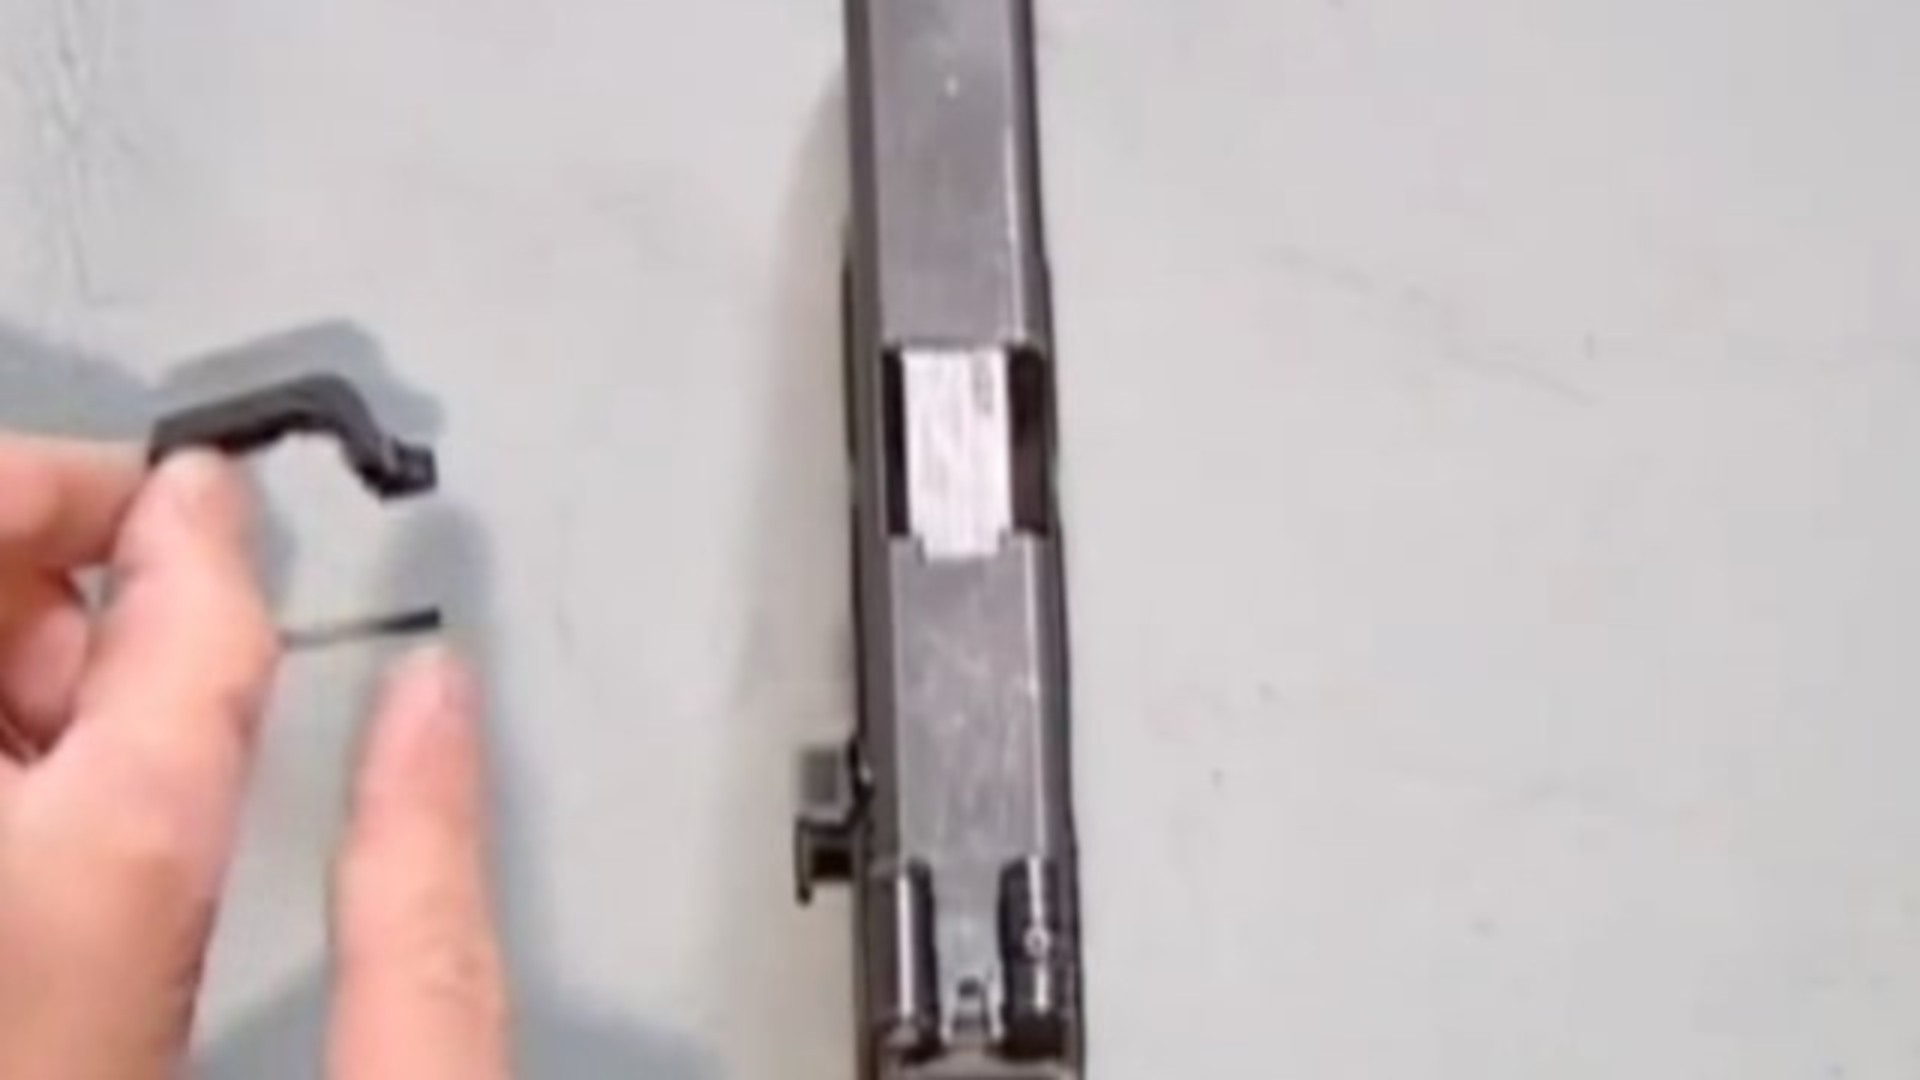
Video Player is loading.
Description
Rob Pincus demonstrates options for modifying the magazine release on a defensive handgun to make it ambidextrous. A Personal Defense Network original video.
Here's another important video from the Personal Defense Network. Of course, most firearms are setup for right-handed people. The overwhelming majority of the population is right-handed and this is the way most firearms are going to be operated. What we do have to worry about, left-handed people operating firearms, and the need to use the firearm with our left hand, should our right hand become occupied, or injured in the middle of a fight, or before we need to use the firearm to defend ourselves. So, in this configuration, the standard magazine release isn't going to allow us to release the magazine in the standard way.
Now, if you're right-handed, you certainly can learn the condition yourself, that anytime the firearm is in your left hand, you're either gonna use your trigger finger, or more likely your middle finger to operate that magazine release. But if you're left-handed, we know the most efficient operation of the firearm is going to be to use your thumb of your strong shooting hand, to release the magazine. If we wanna be able to set up the firearm in order to accommodate that whenever possible. Now, as always we can modify the 1911s to do exactly the same thing. We can set these firearms up so that the magazine release will be on the right side of the gun.
Now, as is normally the case, that requires a little more gunsmithing, and more parts, more work, with the 1911 type firearm. Now again, because I'm a Glock armorer and because the Glock is relatively simple to work on, we're gonna take a look at some of the steps involved in actually installing this cylinder & slide ambidextrous magazine release on this Glock. And the fact is, because not only is this an ambidextrous setup, but it's also an oversized setup, if we take a look at the size of the actual surface of the magazine release that we're gonna be left with, it's much more like this oversized one that we've already put on this Glock, than it is the standard one, but this one does not have a separate piece that we screw on. And because it doesn't have a separate piece that we're actually gonna screw on like this one does, which we're actually going to remove while I'm going through this, we would actually have to modify the frame of this Glock in order to use this particular piece. The hole that allows the base the actual significant part of the magazine release is only so large, and it's not large enough to accommodate the face of this oversized magazine release that's gonna give us the ambidextrous setup.
Well, we're gonna go through the beginning steps after I disassemble the gun. So, once again, let's go ahead and disassemble the firearm. We're going to go ahead and get our flathead screwdriver back out. The first thing I'm gonna do however, is remove, in this case, the oversized face of this aftermarket extended magazine release, so that we can push the whole unit back through the frame. I'll take my flathead screwdriver, position it so that I can apply pressure over to the right, and pop it out of that notch on the body of the magazine release and remove it, and in this case, I've got a cylinder & slide ambidextrous magazine release that I'm going to install into the firearm.
Now, this particular one also comes with a recommended aftermarket spring. So now I'm gonna get to the needle nose pliers, I'm gonna reach in and simply pluck the standard spring out. Once you get a hold of the tip of that, depending on how much grip you've got, you might insert through the side and pull it up and out this way. Start it coming out of that hole and then come in through the top and actually completely remove it from the frame. We'll put that off to the side.
We're gonna put that off to the side with all the other parts. Whenever you're doing any modifications to the firearm, it's important to remember that these parts may look virtually identical, and especially if you're just upgrading a spring, or replacing a spring that you think is worn or used, you wanna be careful about where you put the new ones and where you put the old ones, so I'm gonna take the things I'm putting out of the firearm clearly out of my workspace and out of my way on the other side of my work mat, and then I'm gonna get this into the needle nose pliers, and get ready to insert it. Now, this particular one has a flat end and an angled end, and I'm gonna put that slight angled end into the actual frame so that I don't have that giving extra wear and tear onto the plastic parts of the new magazine release. Once I insert that and get it started, once again, I'm gonna come in through the side and give it that final push down into the frame. And I might even take my flathead screwdriver make sure I get my light right, and make sure that that's pushed that final little bit down in there.
Now, at this point, we're again, not going to actually cut the frame on this particular firearm, but this is where we would insert this particular piece through the firearm, get that spring back into place, just like we would if we were putting that oversized piece in or replacing an original equipment of a magazine release. And then what's gonna happen is, we're gonna have this lever, which you can see actually moves on a pivot, right there, it's just two plastic pieces pushing on there, and there's no spring tension at this point, that actually becomes tensioned once we put the magazine release in place. And then this would be up and it will allow us with our trigger finger on our right hand, if we were only doing a right-handed reload, a one-handed reload, for example, if our left hand were out of the picture, we were needing to run the gun one-handed, we then could sweep down with our trigger finger, apply pressure against this lever, and that would push the magazine release out of the way, magazine would come out of the firearm. And of course, if we're talking about our left-handed operator, at this point that thumb being pressed down would again, push in on this lever and that's gonna give us the opportunity to have an ambidextrous safety on this firearm because of course, we can still push in from the right side just as we would on a normal magazine release. For the left-handed shooter, it is highly recommended that you modify the firearm so that you switch the magazine release to be activated from the right side of the firearm so that you can use that efficient technique that we know works very reliably with the strong side thumb.
Of course, if you set up an ambidextrous system, you're gonna be able to use the firearm in both hands just like the right-handed shooter. Check out more videos just like this one at the Personal Defenses Network.
Share tips, start a discussion or ask other students a question. If you have a question for the instructor, please click here.
Already a member? Sign in
No Responses to “Handgun Ambidextrous Mag Release Modifications”