Ask any professional shooting competitor or firearms instructor worth their salt and they’ll tell you how important it is to conduct as much dry-fire practice as you can. Every step of the process — from drawstroke to presentation of the firearm, sight alignment/picture, and trigger pull is just as important as the others. Even those of us who are not professional competitors yet still carry concealed every day should be practicing dry firing every day. Marksmanship is an important part of defensive shooting. The same could be applied to your medical “marksmanship,” or accuracy, as well.
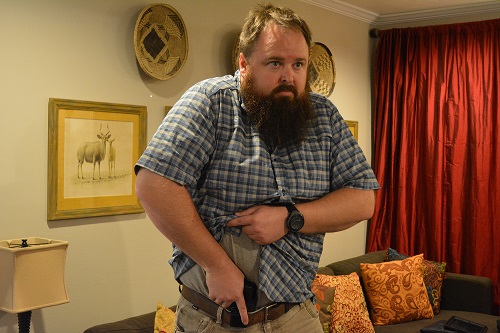
Practice dry fire in the living room. Just be sure your firearm is empty and all live ammo is stored in another room. Photo: author
Medical Skills Practice
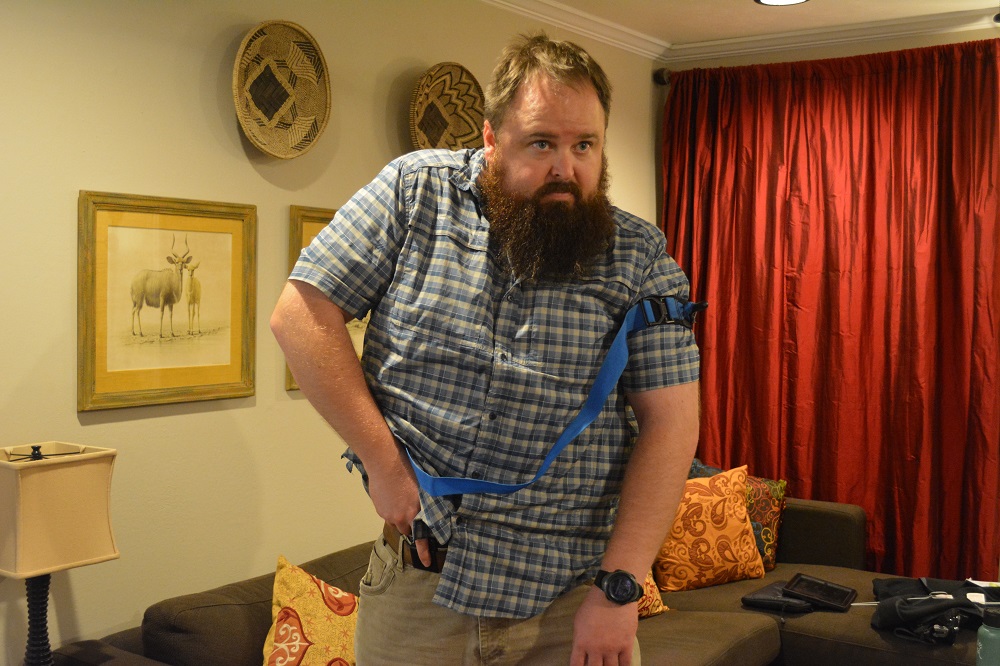
Medical training and practice are just as important skills as your defensive techniques. Three or four times a week at home, I spend 10 to 15 minutes dry firing my defensive pistol from concealment. One draw-stroke at a time, one trigger squeeze at a time. Over the past few years, I’ve started adding a different dry-fire practice … applying a tourniquet (TQ). Following every tenth dry fire “shot,” I deploy my TQ from my Tac Med Solutions ankle med kit and apply it one handed. I alternate between left- and right-handed application each time. The par time for a Lone Star Medics student to deploy and apply a tourniquet correctly is 12 seconds. That is 12 seconds, either hand, one handed and/or on a leg.
Oh, and who said it has to be on their own arm or leg? This is a great time to get family members or shooting buds involved with some medical training. Just have your partner lie on the floor next to you. Perform 10 solid dry-fire shots. When they hear the audible click, they start counting to 12. Make it interesting by adding a rule that for every one second over the allotted 12, you have to perform 25 push-ups. Now you’re doing a little physical training with some dry firing while practicing your TQ skills. All while watching television in your living room.
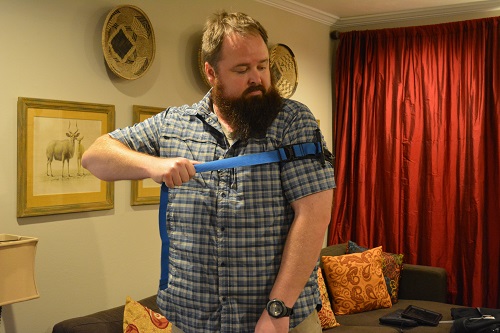
One-handed skills shouldn’t be limited to your firearms training. Get that tourniquet up high and tight. Photo: author
Shooting/Medical Skills Drill
Here is a drill that I end my range sessions with, no matter which type of firearm I’ve been practicing with. It allows me to finish strong for the day, helps identify weak areas, and combines my defensive shooting skills with my medical skills. Try it out and let us know what you think in the comments box below, or tell us how you combine your medical skills with your shooting skills.
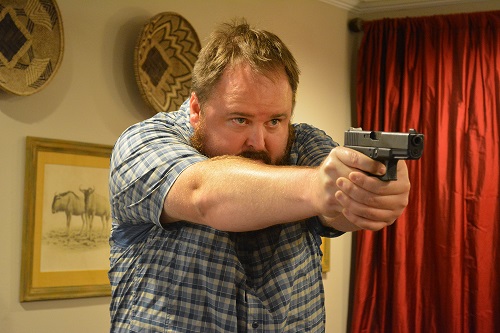
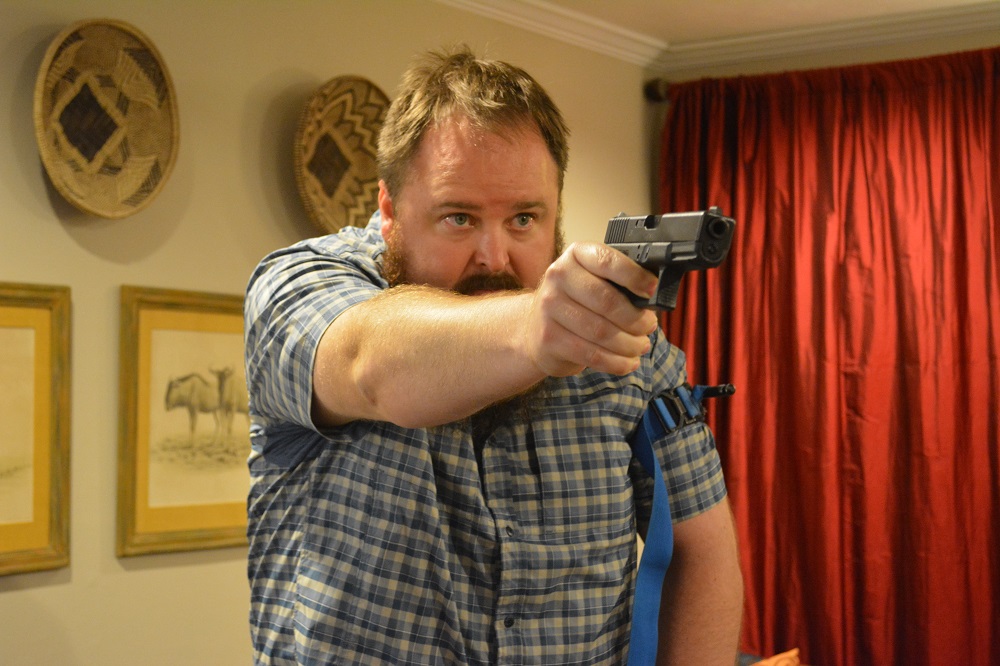
For this drill you need 20 rounds, a shot timer or a partner with a stop watch, a tourniquet, and two of whatever type of target (paper/cardboard/steel) you have available set up about four feet apart. The objective is to place all 20 rounds inside a six-inch circle on each of your targets. Pace off a few steps from the targets. You’re not so concerned with distance here, but maintain a safe distance if using steel targets. Set your timer for a random start time so you’re not “ready” for the beep. Your overall par time may vary depending on your skill level, but don’t worry about that for now. This is a progressive drill. On the beep, draw from concealment and place five rounds on each six-inch target. When you come to slide lock, reload and then re-holster. Immediately deploy your tourniquet from concealment or however you typically carry it (because your TQ is part of your EDC … right?). Apply it to either arm, one-handed only. Once you’ve secured the tourniquet and it is on high and tight, draw with your uninjured hand and engage the two targets with five rounds each. Mark your overall time down. Next time, try to shave some time off that number.
Points To Remember
1. Make sure your firearm is unloaded and all live ammo is kept in the other room while dry firing.
2. Don’t try to re-holster too fast. Keep your head up and look at your holster if you have to for a quick second. This part is not a race.
3. This training drill is meant as just that — a training drill. It does not represent what you may have to do in a real life-or-death situation. If you want to know how and when to apply a tourniquet during a violent altercation, take a tactical medical course. We recommend our “Medicine X-EDC” course.
4. Don’t set yourself up for failure by trying to speed-race your way through the drill. Start off at a pace that you can still “think” about what it is you are trying to accomplish.
5. Involve your buddy. Either have them keep time or coach each other through the drill. The more family members or teammates who are practicing with you, the better off everyone will be.
Multi-Tasking
Time is one luxury most of us don’t have enough of. We’re always trying to maximize our time with family, work, and while on the range. So slip in an opportunity that involves your medical training and your shooting buds or loved ones while enjoying the range. Dry firing at home and conducting shooting drills make for a great shooter. Adding a bit of medical training to the mix will certainly benefit you, your loved ones, your shooting skills, and your survivability.
Great information. Thank you
I am a certified medic. Applying a tourniquet is a dangerous practice. You wanna be Doctors should consult with healthcare providers. Tourniquets are to keep someone injured from bleeding out. When a tourniquet is applied then you can write that limb off. This might be different in a military operation when transport to a medical facility could be prolonged. You won't find EMS applying tourniquets except in extreme emergencies, a constricting band, yes, tourniquet almost Never.
Very good advice! Fifty some years back my uncle was fast drawing a revolver (western style) and shot himself through the thigh. A tourniquet would not have helped but first aid practice is a must. Safe practice and firearm use is a must.
I can see the reasoning with this, but also it creates some falsies. We trained a lot with tourniquets, and we ran plenty of drills. But if you have to slap on a tourniquet, your not shooting. We have done it in different situations with distractions and fake blood. If you have to reengage a target your also going to be dealing with all the symptoms of a tourniquet; the pain, shock and injury. No medicine in a gun fight. if you run drills, practice shooting, then asses and apply CLS, then reassess threats!
Great point, Dan. Tac Med Solutions offers a BLUE version of their SOFT T Wide specifically for training. Although the SOFT T Wide is a pretty stout little tq; it is designed for one time use. Glad to hear your department is actively training with tourniquets. Strong work, sir.
Great drill. The only thing I'd add is to strongly suggest that anyone doing this drill do so with a tourniquet reserved for training only. The most commonly available combat tourniquets are designed to be used once and then thrown away. After a few sessions of training officers at my department, I've seen plenty of significant wear and some failures of tourniquets as they are repeatedly applied. And while a good tourniquet isn't exactly cheap, they're not so expensive that anyone shouldn't be able to buy an extra one for training.