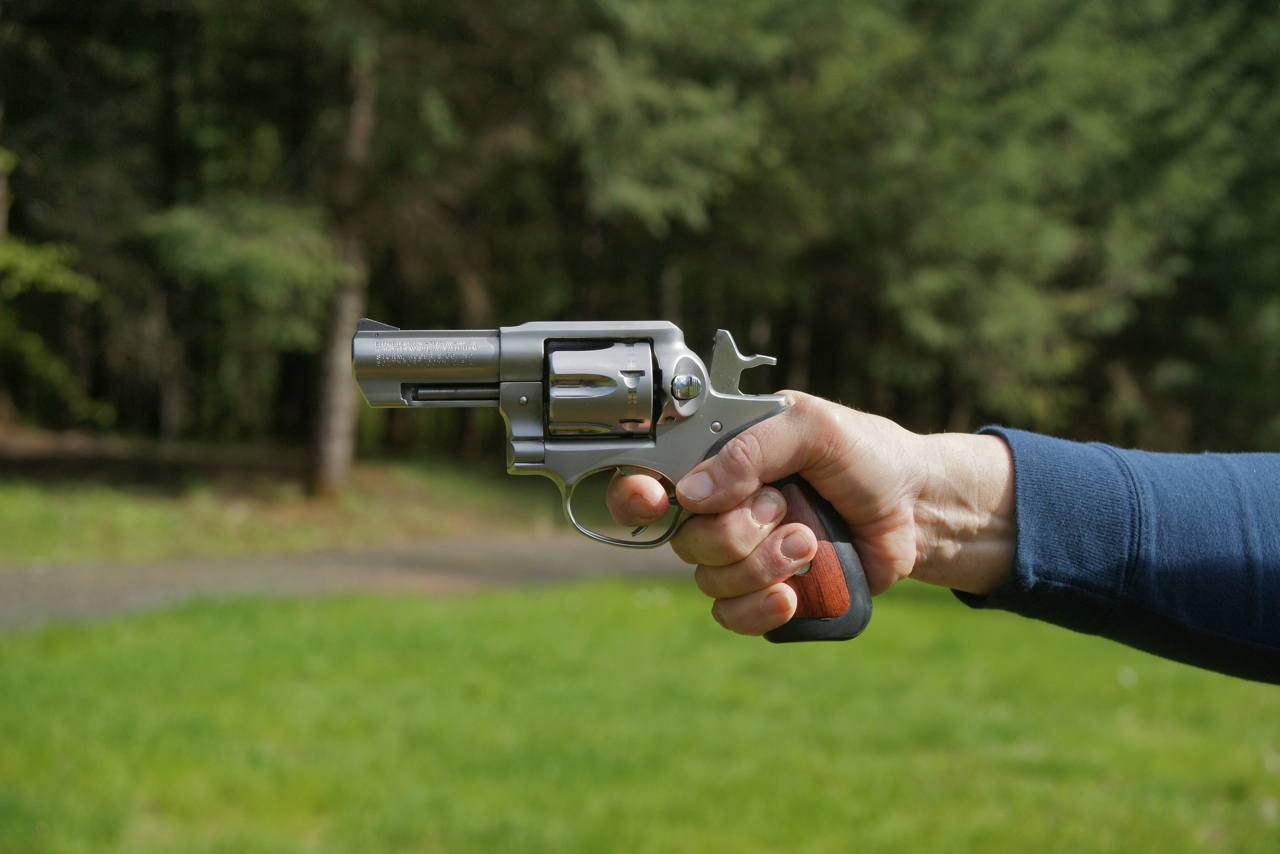
In the event of a misfire, stroke the trigger again.
The Loudest Click in the World
The first and most common malfunction is a simple misfire. This is where stroking the trigger again is called for, as it brings a new round under the hammer. If it ignites, you’re back in business. If it doesn’t, follow the universal prescription: RELOAD!The usual issue with a revolver not going “bang” is, of course, lack of ammunition. Reloading obviously cures that problem, and also gives us another diagnostic tool: if the gun still fails to fire after the reload, you probably have a broken firing pin. This is a failure you can’t fix in the field. You should drop the gun and implement your backup routine. (You do carry backup, don’t you?)
Serious Malfunctions
Contrary to popular belief, there are a lot of things that can go wrong with a revolver. Thankfully they’re fairly rare, but they can tie the gun up so solidly that it becomes a paperweight. If this happens in the middle of a dynamic critical incident, getting the gun up and running (if it can be done) is a top priority.Serious malfunctions will show one of two symptoms: either the trigger is locked in the forward position and won’t go back, or it’s locked in the rearmost position and won’t reset. As it happens, the malfunction drill is exactly the same for both symptoms, which means we don’t need to waste time trying to diagnose the problem while someone is shooting at us!

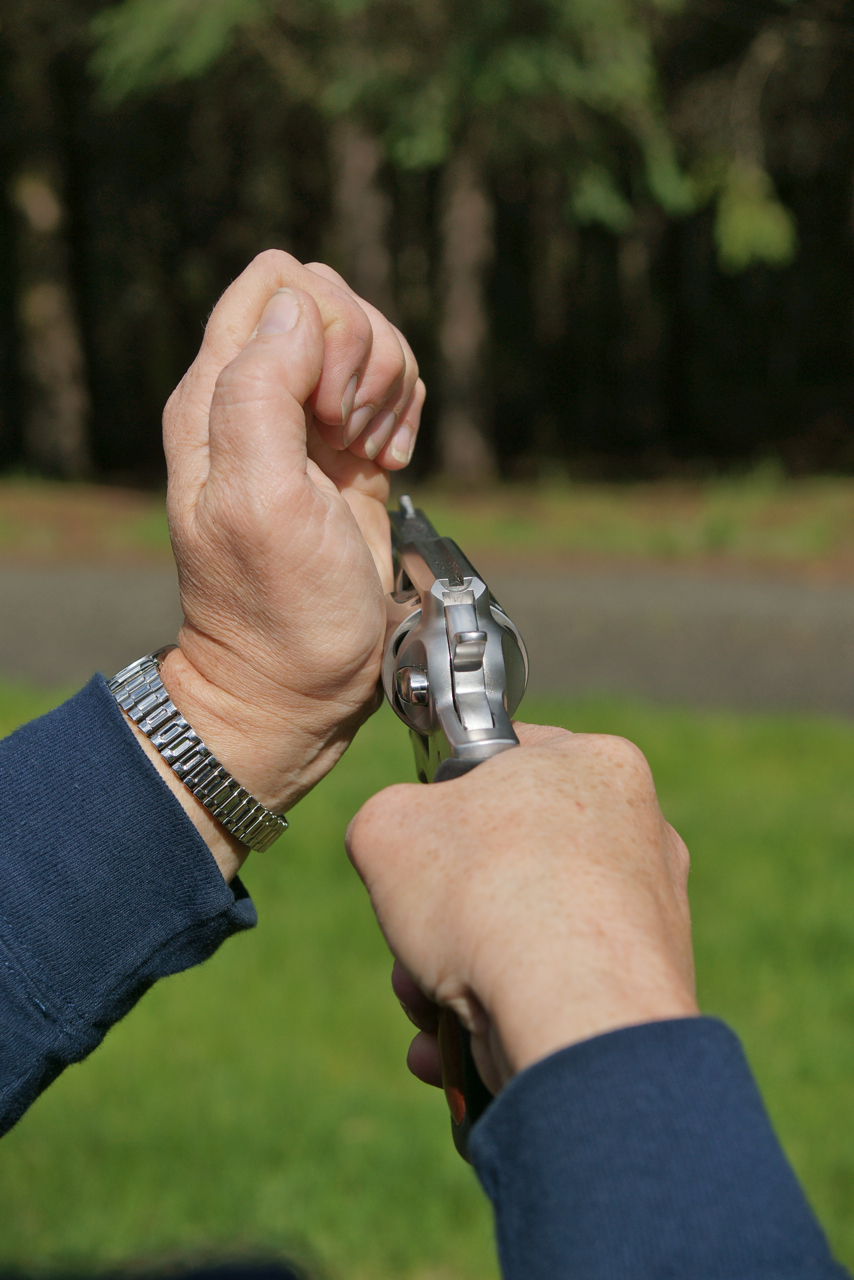
The “tap-stroke”: hit the left side of the cylinder with the heel of your hand and stroke the trigger.
Tap-Stroke
If the trigger is locked, either forward or back, the first thing to do is called “tap-stroke.” This is not unlike the “tap-rack” for autoloaders: with the heel of your hand, sharply strike the left side of the cylinder and frame, then stroke the trigger.A trigger locked in the forward position can be caused by an unlatched cylinder (originating with a bent cylinder yoke, debris, or just plain bad luck). The tap-stroke will latch it solidly and the gun should be running again. If the problem is a self-engaged lock on a Smith & Wesson, it’s been my experience that it clears (shop-induced) failures about 15% of the time.
If the trigger is locked in the rearward position, the most common causes are dirt or ignition debris in the channel where the hand rides. The tap-stroke will usually knock the debris loose and return the gun to function.
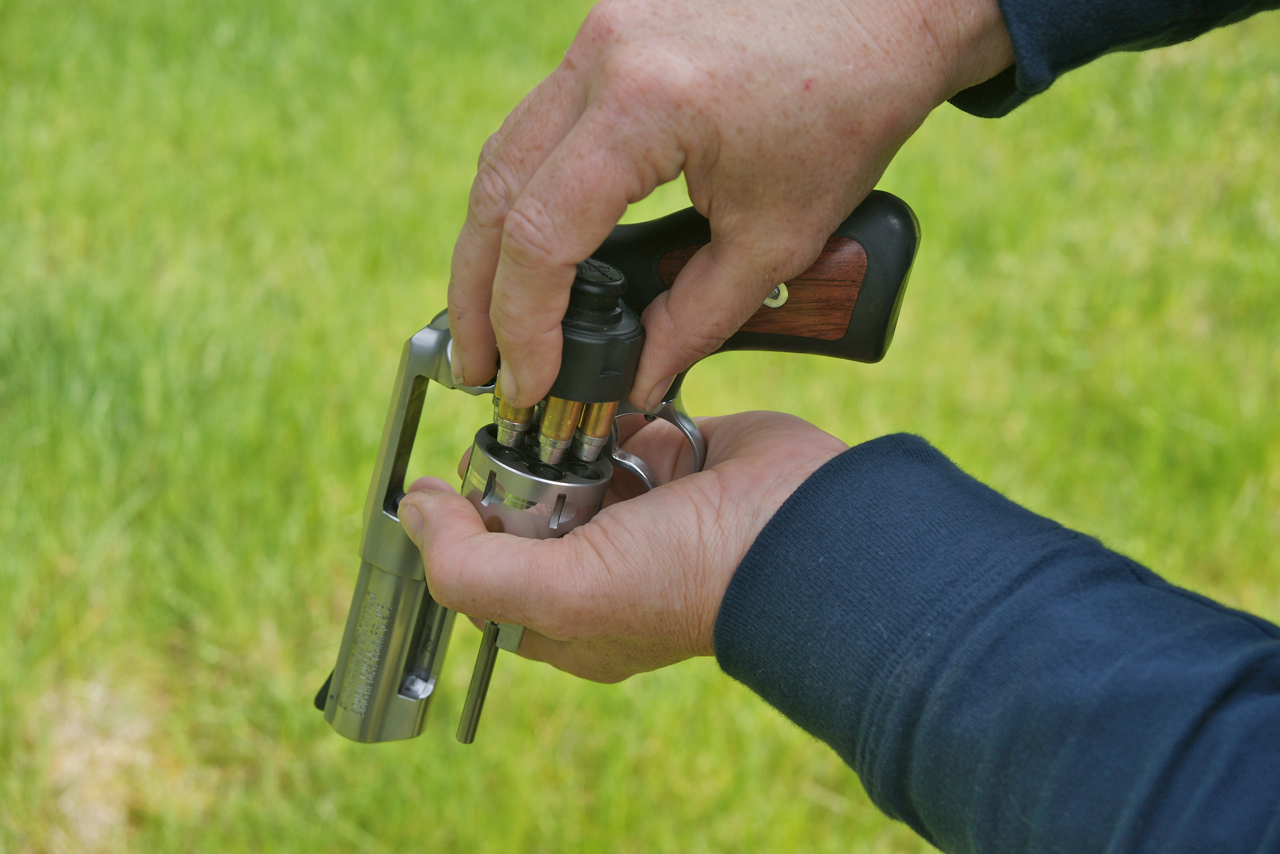
Reload
If tap-stroke doesn’t do the job, RELOAD. It’s not uncommon to find a piece of dirt or unburned powder under the ejector, which wedges the cylinder enough that it won’t turn. Once reloaded, and with the speck (hopefully) thrown clear, the gun should function again. If it doesn’t—if the trigger is still locked in either position—drop the revolver and draw your backup.
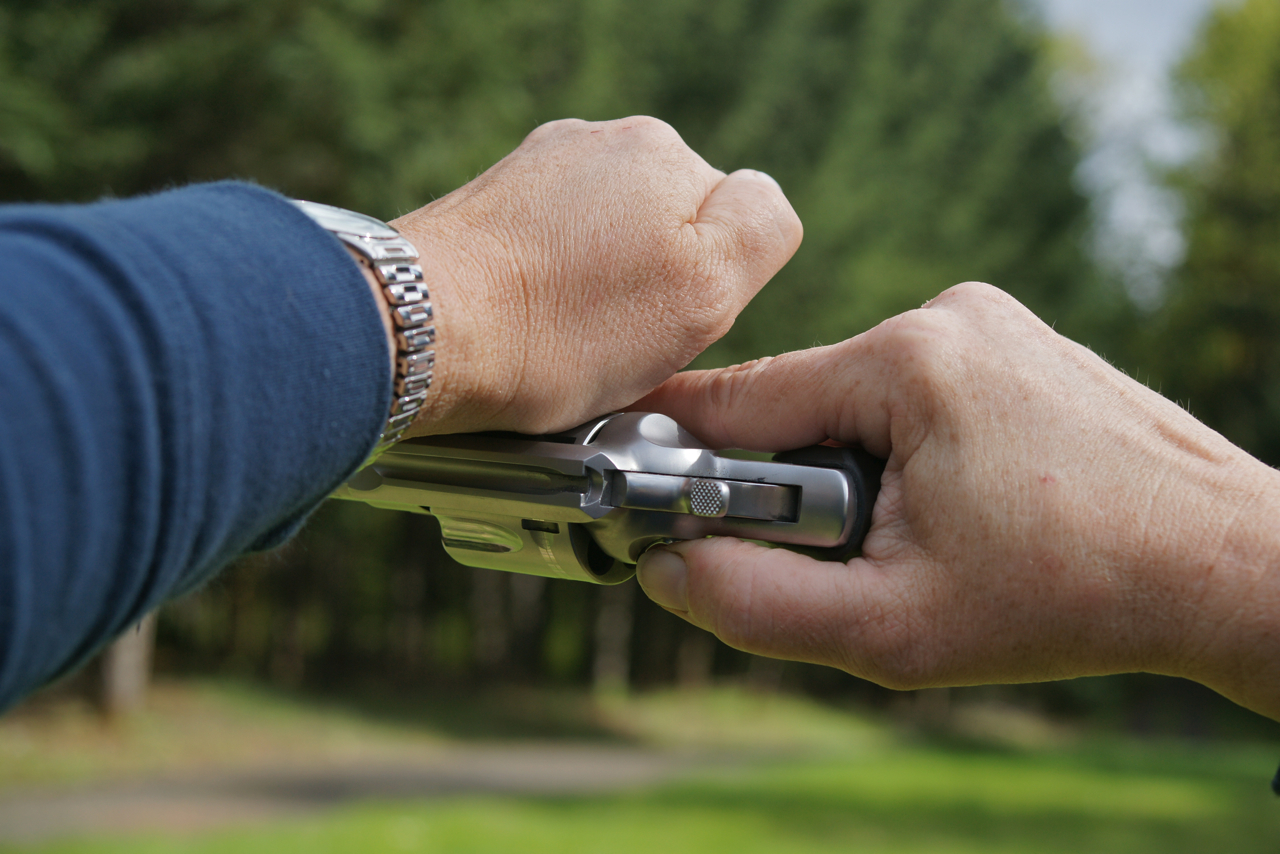
Forcing the cylinder open will eliminate a common problem—a high primer that prevents cylinder rotation.
Kick the Door Open
What if you attempt to reload, and the cylinder won’t swing out? It’s time to “kick the door open.” With your shooting hand, operate the release button and, as you do so, rotate the gun so that the right side is pointing up. Forcefully strike the cylinder with the heel of your hand, which may dislodge the cylinder and allow you to complete your reload.This clears a high primer that wedges the cylinder, which prevents both the trigger from operating and the cylinder from opening. If the cylinder won’t open, drop the gun and go for your backup—you have a problem that you can’t fix in the timeline of a gunfight.
Such a terminal failure might be because a squib load has jammed itself between the chamber and the forcing cone, or it might be because the ejector rod on your S&W has become unscrewed. In either case, it’s not something you can fix right now—implement your backup procedure.
The final hurdle is if you can’t complete the reload because the cylinder won’t close. This is the last “hard failure.” Drop the gun and implement your backup plan.
Practicing the Malfunction Drill
While I normally like to practice as realistically as possible, this is a time when you can’t do so without damaging your gun. The malfunction drill is to get a wheelgun up and running when it won’t function at all. In those cases, a damaged but functional gun is preferable to a non-functioning gun.If you have to perform the drill in real life, you’ll clear the problem, but the gun will need repair afterwards. That certainly beats the alternative! If you start with a completely functional revolver, doing these drills at full force will result in damage.
So how do you train? Go through the motions at reduced speed and with little force, like a flow drill in martial arts. While it’s not perfect, it will at least acquaint your brain with the sequence, so that it has some idea what to do in a real incident.
Once More, Without the Narrative
The drill in sequence: No Fire:-
- 1. Stroke the trigger again.
- 2. If the gun still doesn’t fire, RELOAD.
- 3. If the gun fails to fire after the reload, drop it and go to backup.
-
- Trigger locked:
- 1. Tap-stroke.
- 2. If that doesn’t clear the problem, RELOAD.
- 3. If you can’t reload, “kick the door open” and finish the reload.
- 4. If the cylinder is still stuck, drop the gun and reach for your backup.
- 5. If you make it through the reload but the cylinder won’t close, it’s (again) backup time!
Remember to go to backup at any point that you finish a reload and the gun still won’t function.
That’s the entire sequence, and it addresses all of the revolver failures that can be fixed without tools. Now, go and practice!

IMX the most common revolver malfunction is when a bullet moves forward due to recoil. This is difficult to spot and fix under fire. Following the above procedures won't ID the problem. To be fair this can happen with a self loader. It has only ever happened to me with hand loads. I have also had several S&W revolvers suffer broken parts which required a trip to the shop!
If Revolver malfunction & how to fix it drills
Question Regarding the Alec Baldwin shooting. The media has been hammering the narrative of a "misfire", but my experience shooting classifies a "misfire" as dropping the hammer and the round fails to fire. Now they are claiming, "The trigger wasn't pulled" which is possible with a worn or damaged sear (know this is possible because I have an old "Rolling Block .22" that won't stay cocked for this very thing). However, you cannot shoulder or aim my rifle because the minute you move your thumb off the hammer, it's heading home. I know that is a malfunction, but does that classify as a "misfire"? And in the case of the Baldwin shooting, could the sear be worn causing a spontaneous discharge and then function normally afterwards during ballistic testing? Opinion please?
I have experienced the stuck ejector and loosened ejector rod on PPC guns, causing me to be much more meticulous with all my revolvers' maintenance. Having reloaded around 300k rounds on my Dillon, I have had the occasional high primer slow cylinder rotation but not lock the gun up. No longer competing or loading in nearly the volume I was in the 80's, I still spin the cylinder each time I load/reload my Smiths, and carry factory loads, with which I've never had a problem---but still check!
very informative. thanks
Thank you for a great article. I've never experienced a "stoppage" with my revolvers, but I never truly thought about it before. Thanks again for opening my eyes to possibilities. jjc
I was a police firearms instructor and armorer for many years. What we taught was that if you had a misfire with a revolver emmediately go to xxxxing the weapon and firing single action..
Am not a "Revolver " type individual as I was trained on the M1911A1 and later on the M9 autos but something tells me that handling a "Misfire" in a revolver is dangerous, is it possible that this could be caused by a slow-burn round and if so, would stroking the trigger again cause the round to be obstructed by the cylinder and causing major damage ? Handling a misfire in an Auto is a quick pull on the slide and letting go, feeding a fresh round.
The above is what I was taught at FBI National Academy in the late 1970s. Important clarification is that if you ARE carrying a backup gun, and the revolver doesn't fire on the repeat trigger stroke, skip diagnosis and go right to the backup gun. After the fight diagnose the problem. If you only have one gun, shame on you. The methods described will bail you out if you keep your head if you have practiced them so that they can still be peformed in the heat of battle. Most important to prevent the need are basic revolver handl.ing precautions, always: 1) keep the ejector rod properly tightened, so that it doesn't back out which will lock up the gun, 2) elevate the muzzle when ejecting empties so that unburned powder particles do not fall under the ejector into its recess in the cylinder, which will also tie up the gun 3) carry a toothbrush and regularly clean under the extractor, around the barrel extension through the frame, and all crevices in the frame opening where lead or fouling may accumulate and bind against free cylinder rotation and 4) 100 percent inspect all individual rounds, to absolutely eliminate any with dents, bulged crimps, high primers,and any round which won't drop fully into the chambers and fall our again of its own weight, and while load permit easy closing, opening and free extraction from the cylinder. It is still necessary to inspect factory ammunition. Defects in factory loads are exceedingly are rare, but the one you miss may kill you.
23 years of shooting competitions and carrying a revolver for self-defense and this is the first time I have heard about this drill. I experienced the unburnt powder under the ejector jam in the first match I shot with a revolver.